The Red Hat Enterprise Linux 6 is available on the following architectures:
Red Hat Enterprise Linux is released in server versions for x86, x86-64 for Itanium, PowerPCand IBM System z, and Desktop versions. Download center for RHEL 6 DVD/CD from
https://access.redhat.com/downloads.
There are numbers of new technology and features are added; some of the important features are listed below:
Ext4 a default filesystem, and the optional XFS filesystem.
XEN is replaced by KVM (Kernel based Virtualization). However, XEN is supported till RHEL 5 life cycle.
Supported future ready Filesystem called Btrfs pronounced “Better F S”.
Upstart event driven which contains scripts that are only activated when they are needed. With Upstart, RHEL 6 has adopted a new and much faster alternative for the old System Vboot procedure.
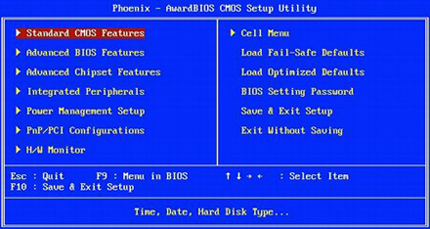
There are number of installation types such as unattended installation called Kickstart, andText-based Installer, I’ve used Graphical Installer. And I have installed it on my testing environment. Please choose packages during installation as per your need. So, let’s get started. Boot Computer Using Red Hat 6 Installation CD/DVD.
Please follow the following steps to install linux on your computer
Red Hat Enterprise Linux 6 Installation
1. Select Install or upgrade existing system options.
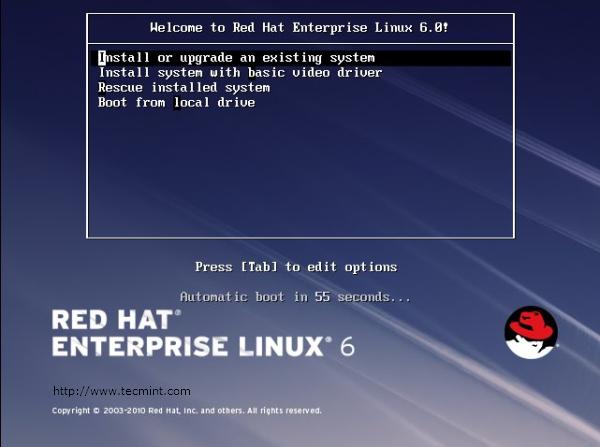
Select Install or Upgrade
2. Select Language.
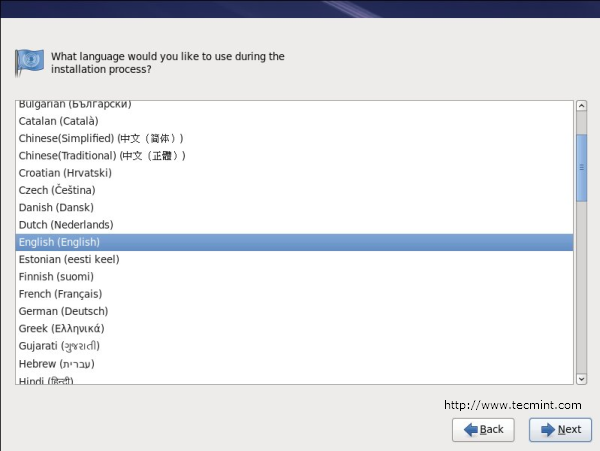
Select RHEL 6 Language
3. Select keyboard type.

Select RHEL 6 Keyboard
4. Choose skip media test, click ok if you want to check media.
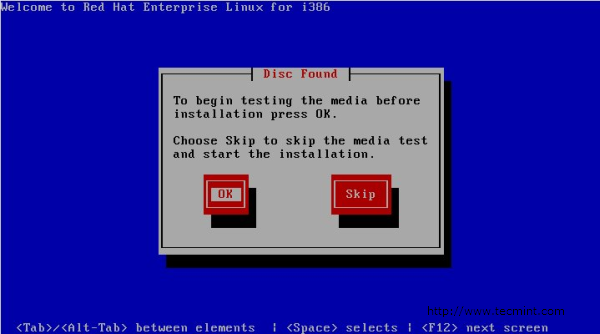
Skip RHEL 6 media test
5. Select storage device.
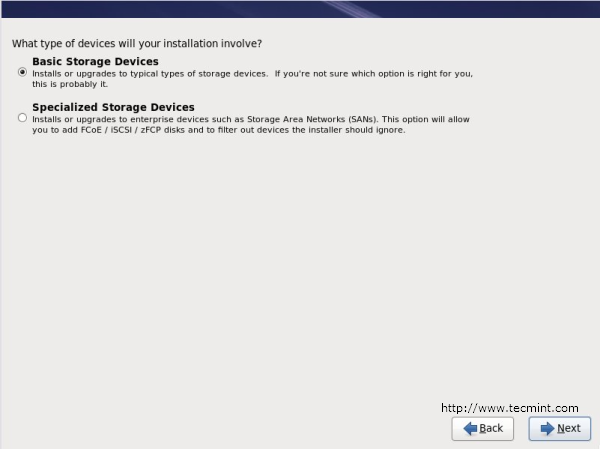
Select RHEL 6 Storage Device
6. Type computer name or hostname.

Set RHEL 6 Hostname
7. Select time zone location.
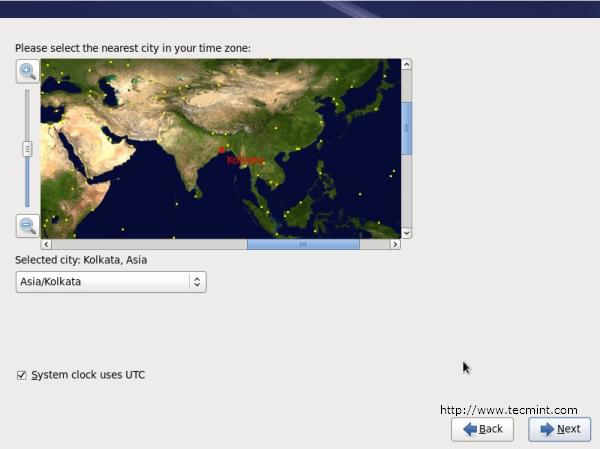
Set RHEL 6 TimeZone
8. Enter password for root user.
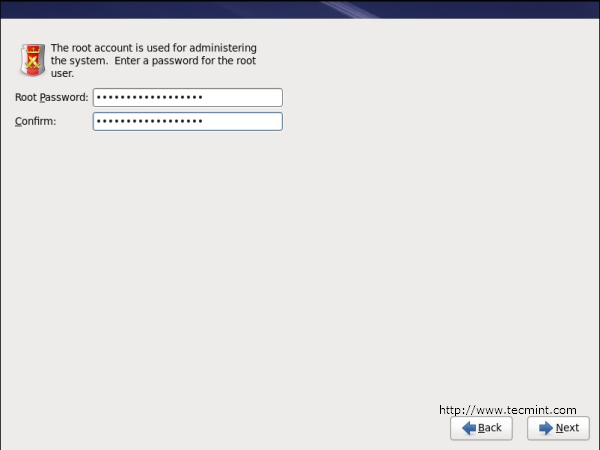
Set RHEL 6 root Password
9. Select type of installation and review partitioning layout carefully also may choose Encrypt system.
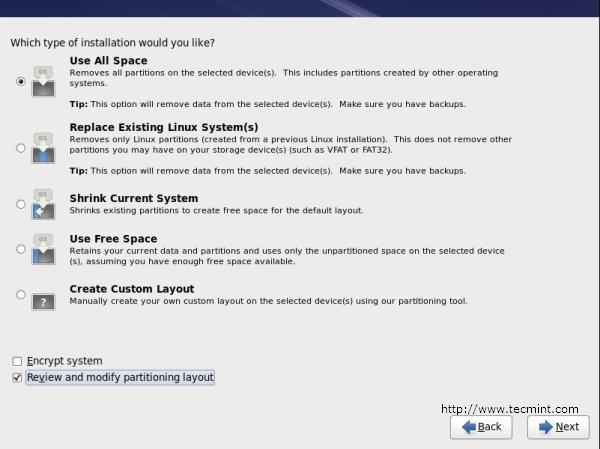
Select RHEL 6 Partition Layout
10. Review partitioning layout, modify if needed. I have chosen default setup with Ext4 and LVM.
Choose RHEL 6 Filesystem type
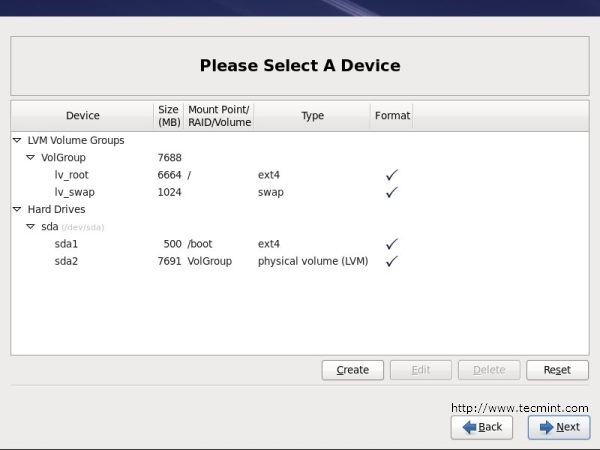
11. Manually configuration of LVM and RAID storage.
Configure RHEL 6 LVM and Raid
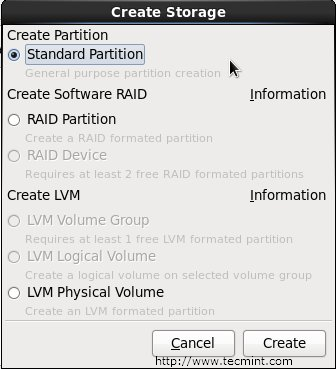
12. Creating partition and formatting filesystems.
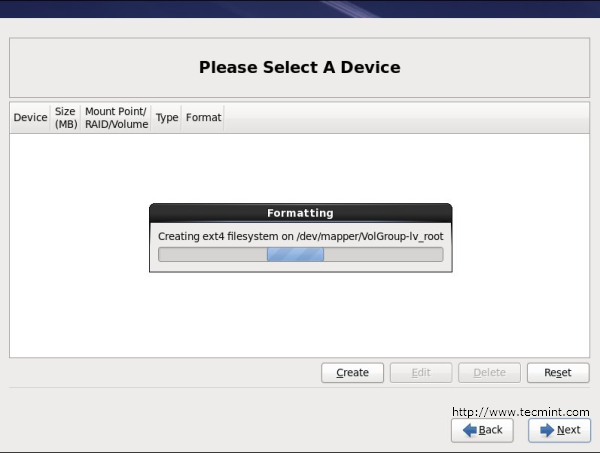
Creating RHEL 6 Partitions
13. Configuring boot loader options, also can give boot loader password for security reason.

Set RHEL 6 boot loader password
14. Select applications to install and select customize now.
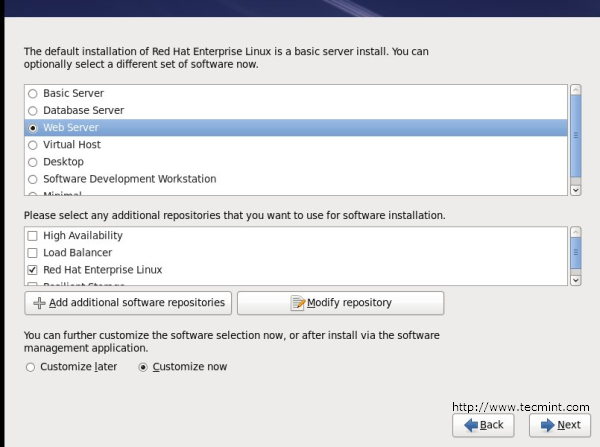
Select RHEL 6 Installation Packages
15. Customize package selections.
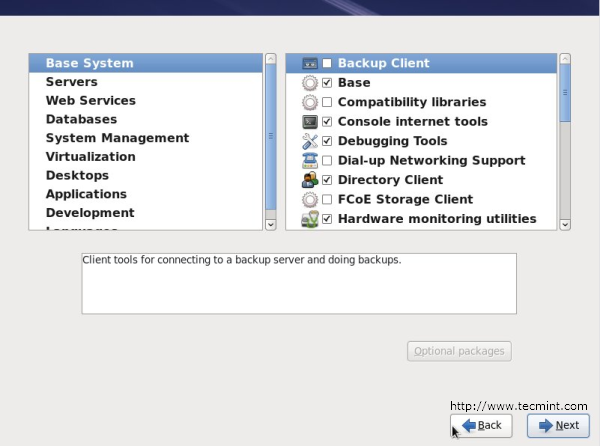
RHEL 6 Packages Selection
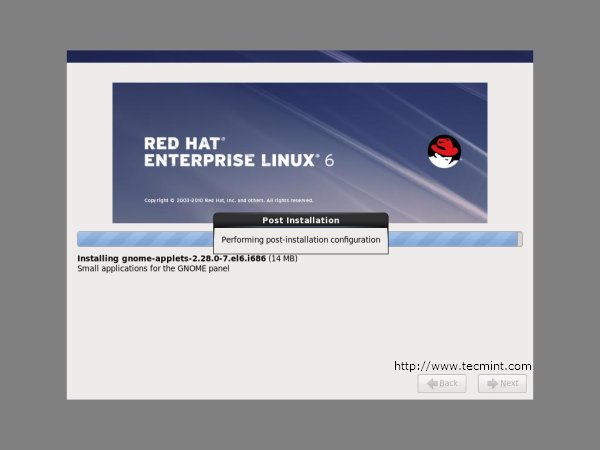
16. Installation progress.
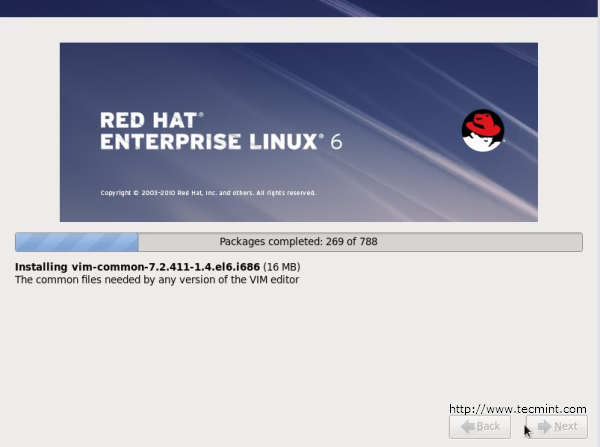
RHEL 6 Installation Process
17. Installation is completed successfully.
RHEL 6 Installation Completed
18. Please reboot your computer and login with root credentials as you set in the Step #8.
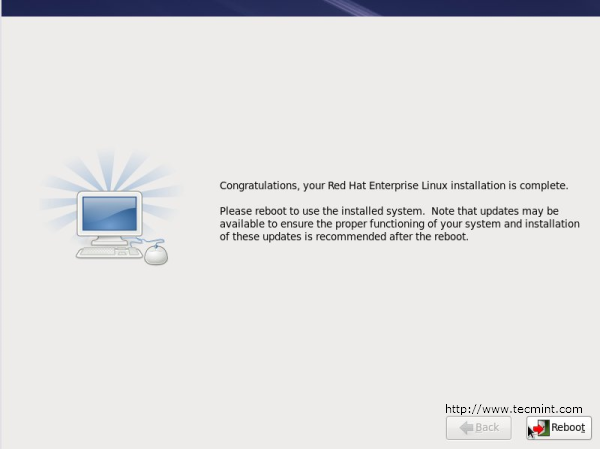
Reboot RHEL 6 Installation
19. Login Screen.
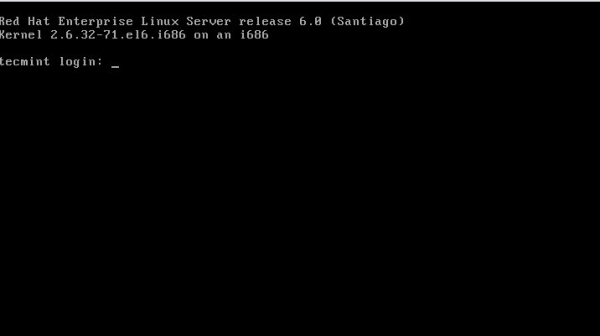
RHEL 6 Login Screen